Enhancing Your DJ Setup: Direct Audio Input for DDJ XJ via Computer USB
Introduction
The DJ world constantly evolves with new technologies that enhance sound quality and functionality. One such innovation is using direct audio input for your DDJ XJ via a computer USB. This setup can streamline your workflow, providing a cleaner and more efficient audio signal. Whether you're a professional DJ or a hobbyist, understanding this process can take your performances to the next level.
This guide will explore the ins and outs of direct audio input, required equipment and software, setup procedures, speaker integration, and tips to optimize your audio quality. By following this comprehensive tutorial, you'll be well-equipped to elevate your DJ setup with minimal hassle.

Understanding Direct Audio Input
Direct audio input involves linking your DJ equipment directly to your computer using a USB connection. This method offers several advantages, including improved sound quality and reduced latency. Unlike traditional setups that rely on multiple analog connections, USB connections provide a digital interface, reducing signal degradation and interference.
Standard DJ setups traditionally involve various cables and connections, which can introduce noise and latency issues. Direct audio input simplifies this by using a USB cable to connect your DDJ XJ to your computer, allowing for a more streamlined and reliable audio path. The result is a more professional sound that captures every nuance of your performance.
Swapping older analog cables for USB connectivity also means fewer components to manage, making your setup cleaner and more portable. Whether performing at a live venue or doing a recording session, direct audio input ensures your sound quality remains consistent and high-grade.
Required Equipment and Software
Necessary Hardware
- DJ Controller (DDJ XJ)
- This is your primary setup tool, designed to manage multiple audio inputs and outputs.
- Computer (PC or Mac)
- Ensure your computer has available USB ports and meets the performance specifications required by your DJ controller.
- USB Cable
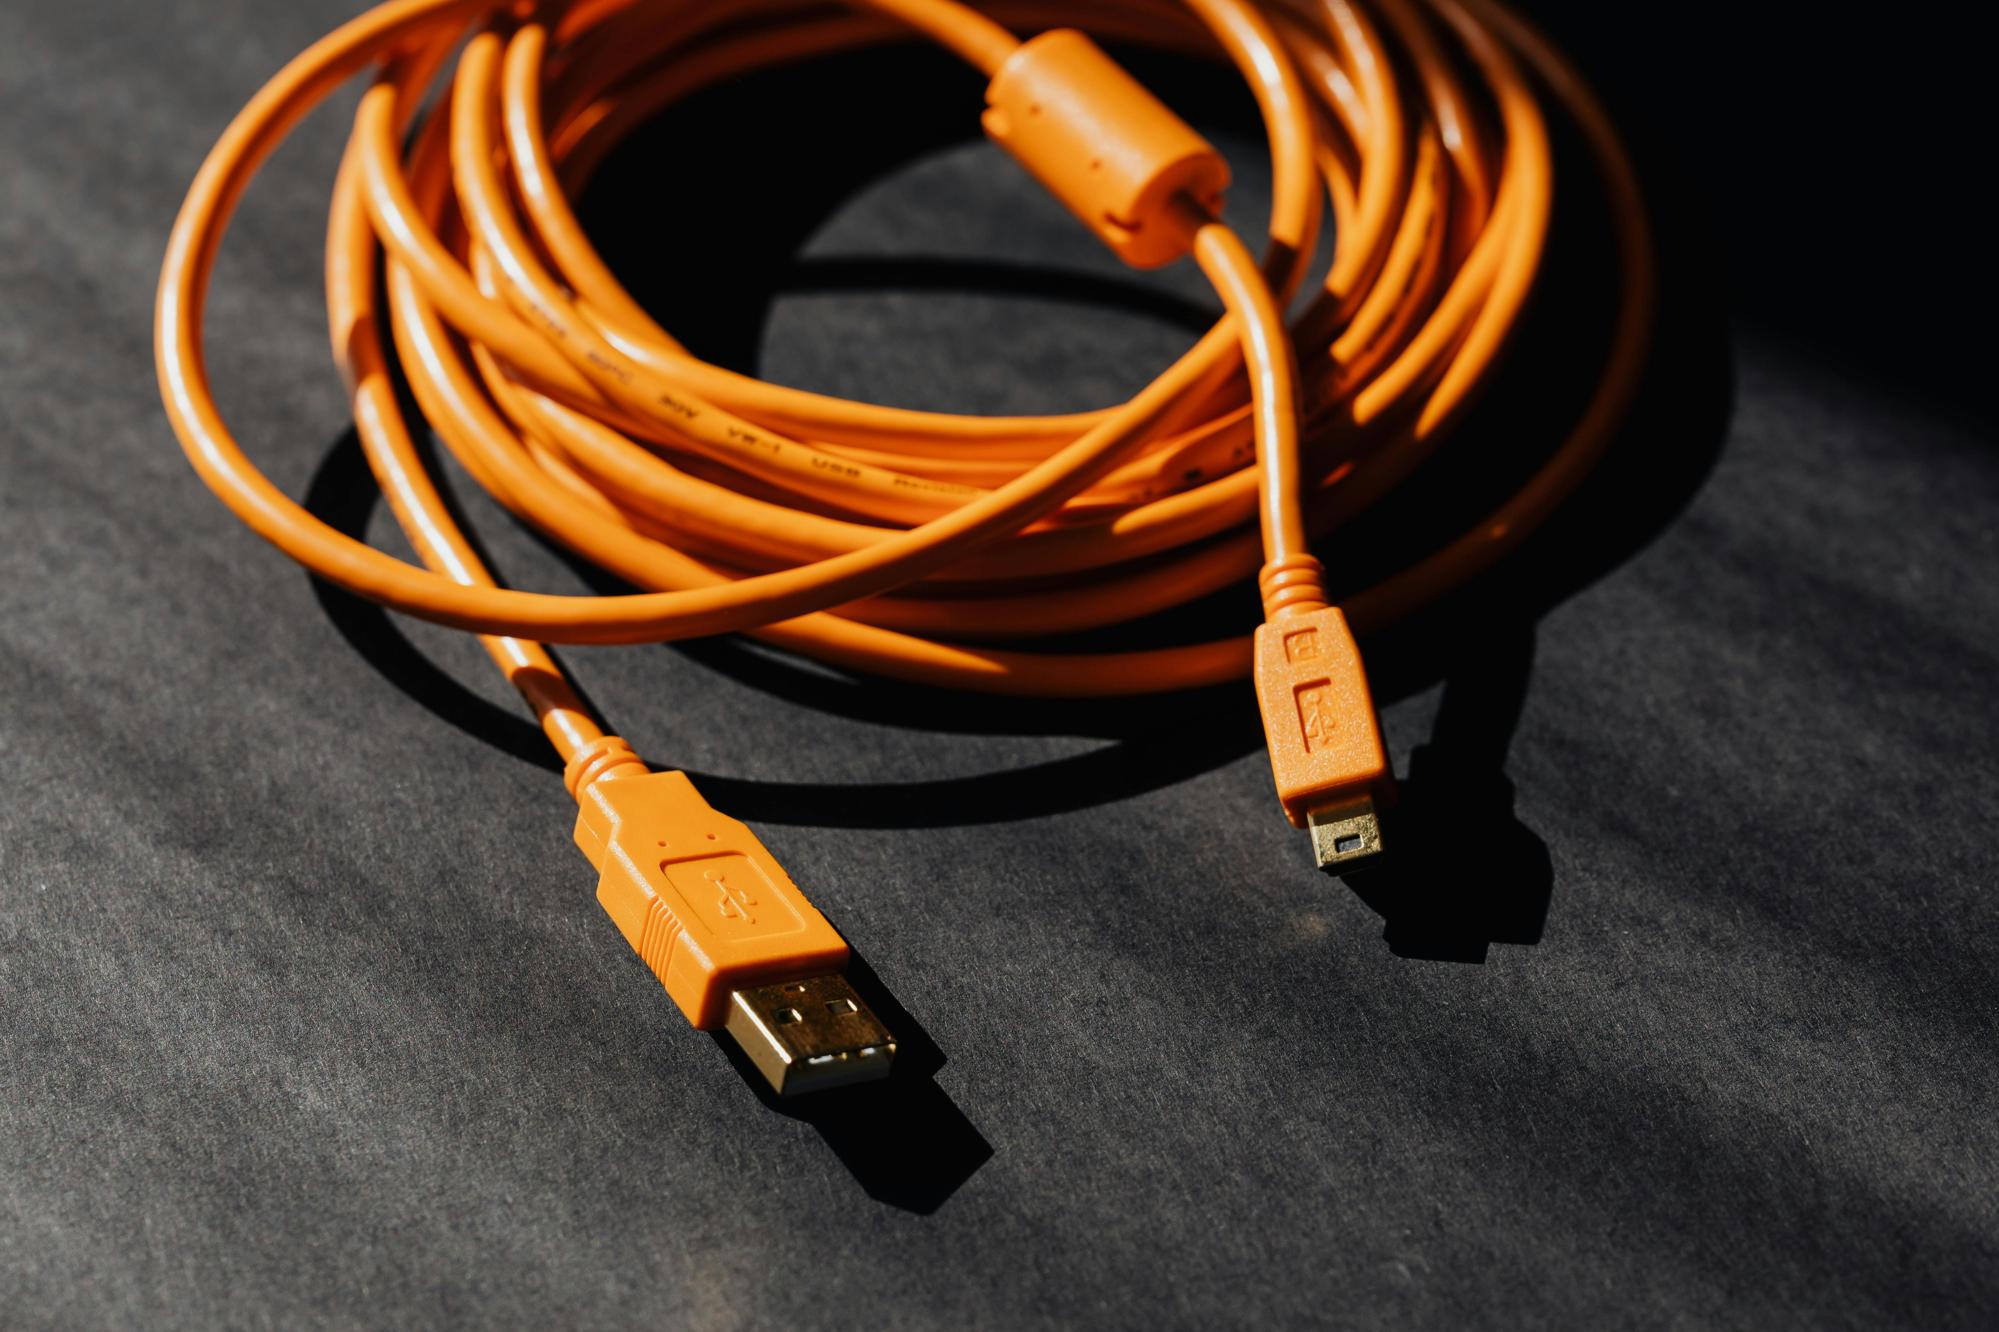
- A high-quality USB cable is vital for reducing latency and ensuring a steady connection.
Recommended Software
- DJ Software (e.g., Serato, Rekordbox)
- Compatible DJ software is essential for managing your tracks and configurations.
- Audio Interface Drivers
- Depending on your controller and operating system, specific drivers may be required for optimal performance.
- Latency-Reduction Tools
- Software like ASIO4ALL can further help minimize latency issues, providing a smoother experience.
By gathering these components, you lay the foundation for a seamless and high-quality DJ setup. Properly integrated hardware and robust software will enable you to make the most of your direct audio input capabilities.
Step-by-Step Setup Guide for DDJ XJ with Computer USB
Connecting the Hardware
- Link the DDJ XJ to Your Computer
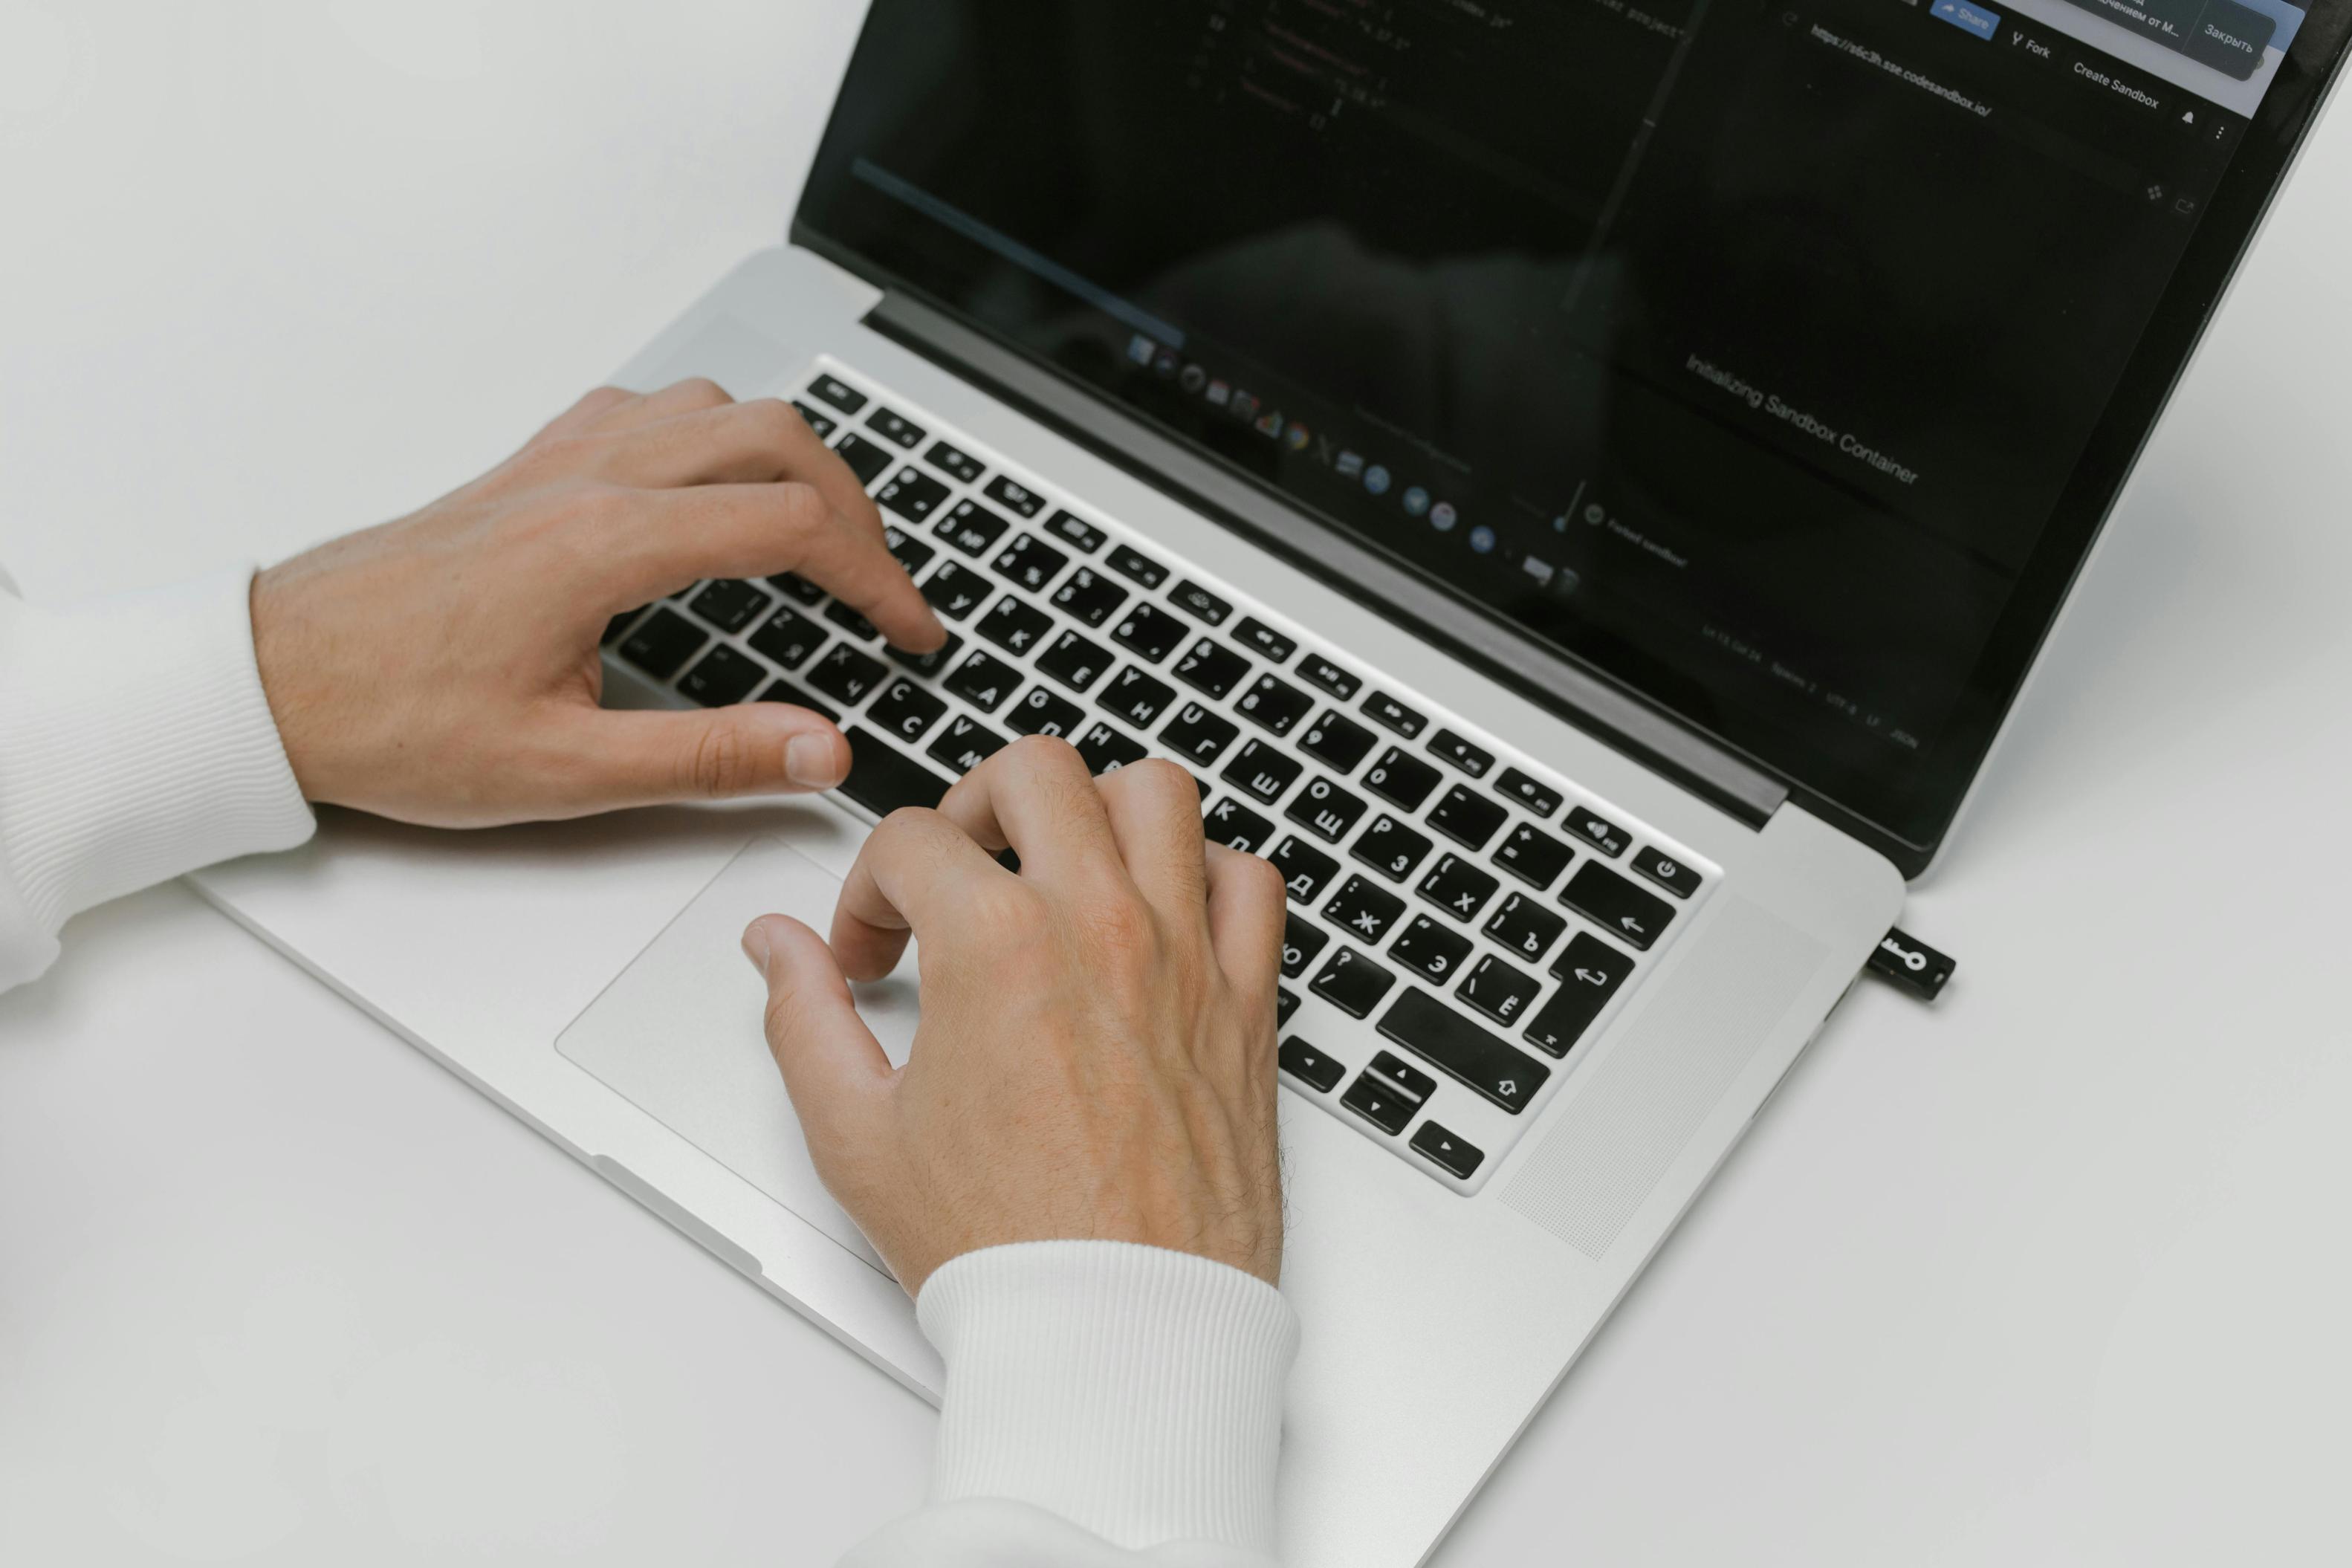
- Use the USB cable to connect your DDJ XJ directly to your computer. Ensure the connection is secure on both ends.
- Power On Your Devices
- Turn on your computer first, then power up your DDJ XJ to ensure the hardware initializes correctly.
Installing and Configuring Software
- Install Necessary Drivers
- Download and install the appropriate drivers from the manufacturer's website. Follow the installation prompts to ensure proper setup.
- Launch Your DJ Software
- Open your preferred DJ software (e.g., Serato, Rekordbox) and navigate to the settings menu.
- Configure Audio Settings
- Within the settings menu, select your DDJ XJ for both input and output audio devices. Adjust latency settings to minimize delay.
Troubleshooting Common Issues
- Connection Problems
- If your DDJ XJ isn't recognized, try using a different USB port or cable. Restart both your computer and controller to reset the connection.
- Audio Dropouts
- Check your system's performance settings, ensuring no background processes are consuming excess CPU resources.
- Software Crashes
- Update your DJ software and drivers regularly to ensure compatibility with your operating system.
Following these steps will help you set up your direct audio input for the DDJ XJ, ensuring smooth performance and high-quality sound.

Integrating External Speakers with Your DJ Setup
When setting up your DJ environment, integrating external speakers properly is vital for delivering the best sound experience.
Types of Speakers Ideal for DJs
- Active Speakers
- Built-in amplification makes active speakers a convenient all-in-one solution, ideal for mobile DJs and smaller venues.
- Passive Speakers
- While requiring an external amplifier, these speakers offer more flexibility in terms of sound customization and power management.
- Studio Monitors
- Designed for accuracy, studio monitors are excellent for practice sessions and home studios.
Speaker Positioning and Connection Options
- Optimal Positioning
- Place speakers at ear level, forming an equilateral triangle between you and the speakers. This placement enhances stereo imaging and sound clarity.
- Connection Methods
- Depending on your speaker type, you may use balanced XLR cables, RCA cables, or TRS cables to connect your DDJ XJ to your speakers. Ensure all connections are secure to prevent sound dropouts.
- Adjust Sound Settings
- Use your DDJ XJ's onboard EQ settings to fine-tune your speaker output, ensuring balanced and rich audio for your performances.
Proper speaker integration is crucial for delivering a compelling and immersive DJ experience. With the right speakers and optimal positioning, you can ensure your audience hears every beat's detail.

Optimizing Audio Quality for Performances
After setting up your hardware, it's essential to optimize your audio settings to ensure stellar performance during your gigs.
Adjusting Audio Settings on DDJ XJ and Computer
- Fine-Tune EQ Settings
- Use your DDJ XJ’s equalizer settings to balance bass, mid, and treble frequencies according to the venue's acoustics.
- Software Configuration
- Ensure your DJ software’s audio settings are optimized. Match the sample rate and buffer size to your controller’s specifications to reduce latency.
Minimizing Latency and Interference
- Use High-Quality USB Cables
- Invest in high-quality, low-latency USB cables to avoid signal degradation.
- Optimize System Performance
- Close unnecessary applications on your computer to free up CPU resources, reducing the risk of audio dropouts and latency.
- Manage Wireless Interference
- If you’re using wireless equipment, ensure it operates on different frequencies than your Wi-Fi network to avoid signal interference.
Addressing these factors ensures your direct audio input setup performs at its best, providing crisp, latency-free audio that enhances your DJ gigs.
Conclusion
Enhanced audio quality and reduced latency are crucial benefits of using direct audio input for your DDJ XJ via a computer USB. By following the steps outlined in this guide, gathering the necessary equipment, and optimizing your setup, you will create a seamless and professional DJ experience. Whether you’re performing live or recording, this setup will ensure your audio is top-notch.
Frequently Asked Questions
How do I connect my DDJ XJ to my computer via USB?
Link your DDJ XJ to your computer using a high-quality USB cable. Install the necessary drivers and configure your DJ software’s audio settings to recognize your controller.
What type of speakers should I use with my DDJ XJ?
Active speakers are ideal for their built-in amplification. Passive speakers offer more sound customization, while studio monitors are perfect for practice sessions due to their accuracy.
How can I minimize audio latency in my DJ setup?
Use high-quality USB cables, close unnecessary applications on your computer, and ensure your system’s performance settings are optimized for DJ software.


